mirror of
https://github.com/MustardChef/WSABuilds.git
synced 2024-12-12 12:54:16 +01:00
33 lines
1.3 KiB
Markdown
33 lines
1.3 KiB
Markdown
|
|
# WSABuilds <img src="https://img.shields.io/github/downloads/MustardChef/WSABuilds/total?label=Total%20Downloads&style=for-the-badge"/>
|
|||
|
|
|
|||
|
|
|
|||
|
|
## 指南:如何安装 BusyBox
|
|||
|
|
|
|||
|
|
### 前言:
|
|||
|
|
##### 由于 Magisk 已经内置了 BusyBox,所以此过程非常简单
|
|||
|
|
|
|||
|
|
## 步骤
|
|||
|
|
|
|||
|
|
### 步骤 1:
|
|||
|
|
使用通过 Play Store 下载或通过 sideload 安装到 WSA 的 Android 浏览器,下载以下 [Magisk 模块](https://github.com/Magisk-Modules-Alt-Repo/BuiltIn-BusyBox) 来安装和符号链接 BusyBox 与其附带的应用程序到 Magisk 内置的 busybox 二进制文件。不需要手动操作或获取自定义版本。
|
|||
|
|
|
|||
|
|
### 步骤 2:
|
|||
|
|
通过 Magisk Manager 安装 Magisk 模块 .zip 文件
|
|||
|
|
|
|||
|
|
### 步骤 3 (可选):
|
|||
|
|
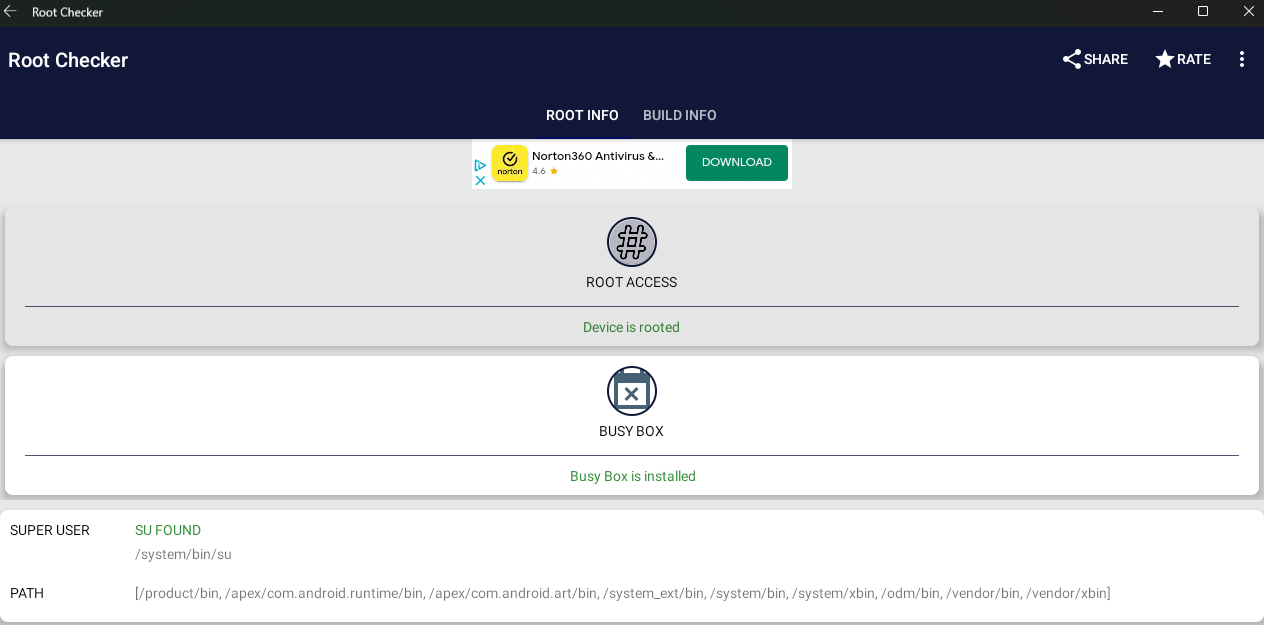
您可以通过 Root Checker 或使用 ADB Shell 进行测试是否 BusyBox 正常工作:
|
|||
|
|
|
|||
|
|

|
|||
|
|
|
|||
|
|
或
|
|||
|
|
|
|||
|
|
`` adb shell ``
|
|||
|
|
``su``
|
|||
|
|
``busybox | head -1``
|
|||
|
|
|
|||
|
|

|
|||
|
|
|
|||
|
|
|
|||
|
|
### 如果您遇到问题或不理解指南中的任何步骤,请加入 Discord 并在这里提问:
|
|||
|
|
[<img src="https://invidget.switchblade.xyz/2thee7zzHZ" style="width: 400px;"/>](https://discord.gg/2thee7zzHZ)
|