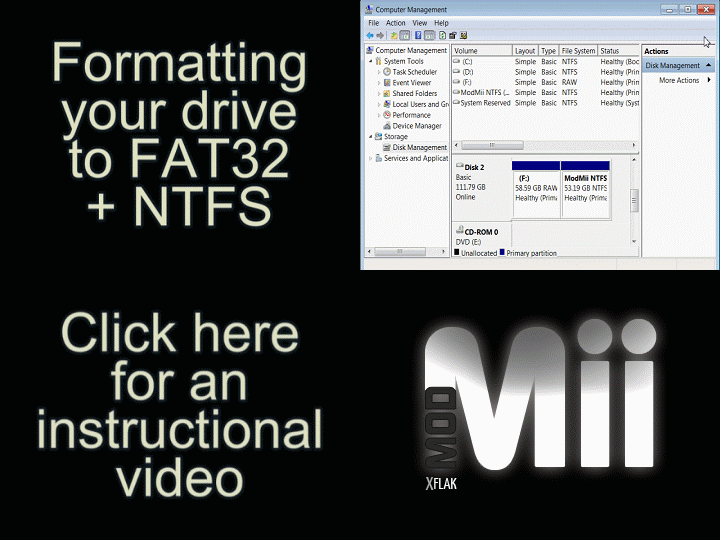
Partition and Format the External Hard Drive as FAT32 + NTFS

If you have anything saved on the hard drive, you should back it up now as all the data will be lost once you format it.
- Right-click "This PC" or "My Computer" and select "Manage", a new window will open, on left panel click "Disk Management".
- If "This PC" or "My Computer" is not on the desktop it can be accessed using the ⊞ Win+E keyboard combination.
- Right-click the drive you want to partition (make sure you select the right drive!), then select "Delete Volume..."
- On the lower half menu of the window, locate the unallocated space, right-click it, and select "New Simple Volume..."
- Enter the "volume size" you want your FAT32 partition to be, and click "Next".
- Choose a Drive letter for this partition, then click "Next".
- Make note of this drive letter, as it will be needed when we use FAT32 GUI Formatter shortly.
- Set the File System to "FAT32" (if possible) and optionally customize the "Volume label".
- FAT32 will mostly likely not be an option (only listed if volume size is under 32GB).
- If FAT32 isn't an option, you can choose "Do not format this volume"
- It's also okay to format as NTFS or exFAT since we will be changing it to FAT32 later.
- Click "Next", then click "Finish".
- If you see a message indicating you need to format the drive, click "Cancel".
- In the lower half of the Disk Management menu, locate your drive's remaining unallocated space, right-click it, and select "New Simple Volume...."
- Click "Next" to format the all remaining space on the drive.
- Choose a Drive letter for this partition, and click "Next".
- Ensure the file system is set to NTFS, then name/label the volume, and optionally uncheck the "Perform a quick format" box.
- Click "Next", then click "Finish".
If you were able to format the first partition as FAT32, then you can skip the remainder of this step.
