Table of Contents
- Warning: Only use a high-quality battery with integrated protection circuit you bought from a reliable vendor. Check for short-circuits in your soldering work before inserting the battery. Never insert the battery into the holder the wrong way.
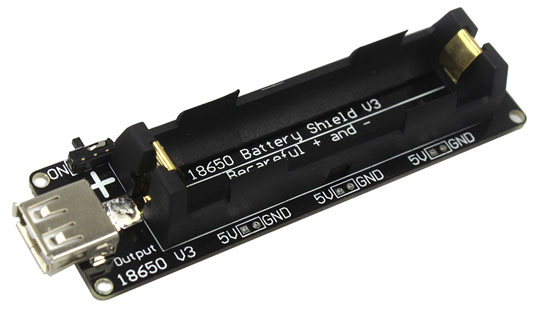
- 1) First you need to buy this battery module and a matching 18650 battery.
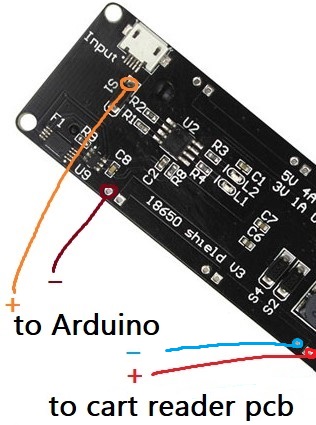
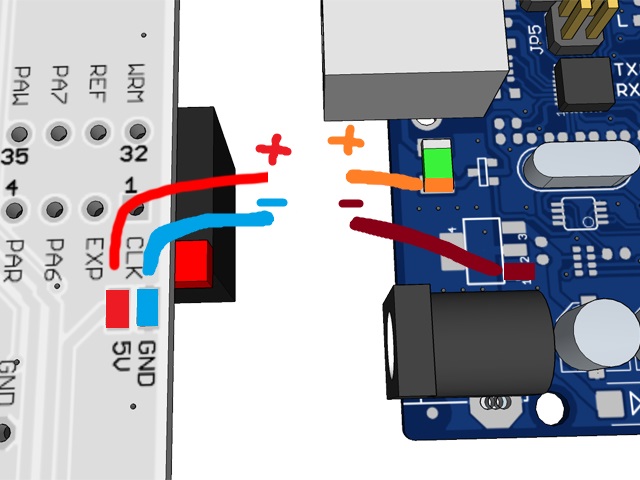
- 2) Next connect the battery module to both the Arduino Mega and the Cart Reader shield.
- 3a) If you want just the simple backplate print out these new parts (1) (2).
- 3b) If you want the full case print out these new parts (1) (2) (3) (4)x2
- 4) In both cases you will also need these parts if you did not already print them earlier (1)print with clear PLA (2) (3)
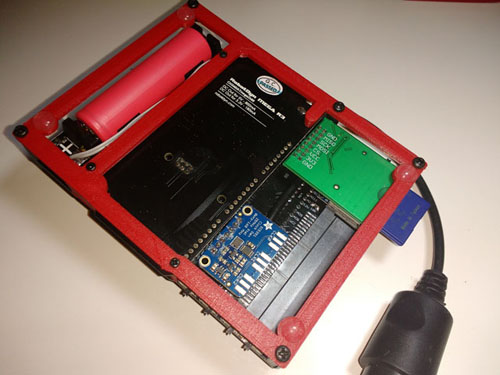
- 5) As soon as you plug in a microUSB cable into the Arduino's USB port the 18650 battery will be charged at 500mA. The battery module will automatically convert the 3.7V of the battery to 5V for use with the Cart Reader. The switch and the two USB ports on the battery module do not serve any purpose anymore. In this configuration there always has to be a battery inserted into the battery module or else the Arduino will not turn on. Sometimes if the Arduino does not turn on you have to plug a USB cable into the battery module and then turn the Cart Reader on.
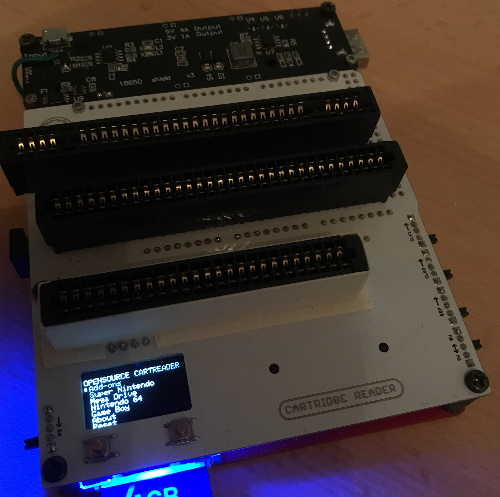
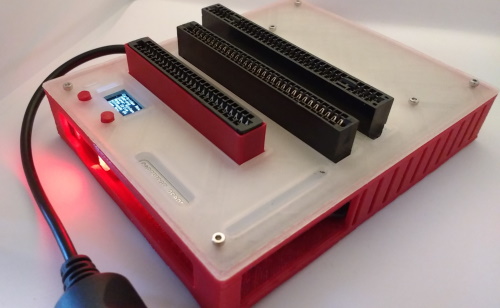
Since the Cart Reader does not need a PC to operate you can make it truly portable by adding a battery.
Warning: Only use a high-quality battery with integrated protection circuit you bought from a reliable vendor. Check for short-circuits in your soldering work before inserting the battery. Never insert the battery into the holder the wrong way.
1) First you need to buy this battery module and a matching 18650 battery.
2) Next connect the battery module to both the Arduino Mega and the Cart Reader shield.
Connect blue to blue, red to red, orange to orange and brown to brown.
3a) If you want just the simple backplate print out these new parts (1) (2).
3b) If you want the full case print out these new parts (1) (2) (3) (4)x2
4) In both cases you will also need these parts if you did not already print them earlier (1)print with clear PLA (2) (3)
5) As soon as you plug in a microUSB cable into the Arduino's USB port the 18650 battery will be charged at 500mA. The battery module will automatically convert the 3.7V of the battery to 5V for use with the Cart Reader. The switch and the two USB ports on the battery module do not serve any purpose anymore. In this configuration there always has to be a battery inserted into the battery module or else the Arduino will not turn on. Sometimes if the Arduino does not turn on you have to plug a USB cable into the battery module and then turn the Cart Reader on.
Cart Reader V5
Overview
Supported Systems
List of user-created Adapters
Community Discord Server
Build Guide
Recommended Tools
What to order
How to build
More Information
How to order a PCB
How to flash the Arduino
Flashing the snesCIC
Preparing the SD Card
Automatic Voltage Selection
Real‐Time Clock
Advanced
Troubleshooting
Calibrating the ClockGen
Designing your own Adapters
Serial Monitor
Savegame Conversion
Older Revisions
About
Cart Reader V4
Cart Reader V3
Cart Reader V2
Cart Reader V1
Firmware Archive
Nintendo 64
Read N64 cartridge
Reading a Controller Pak
Reflashing N64 Repros
Reflashing a Gameshark
Super Nintendo
Reading SNES/SFC carts
Reflashing NP carts
Reflashing SNES/SFC Repros
Reflashing BSX 8M carts
NES and Famicom
Dumping NES Games
Adding auto mapper to a game
Game Boy
Reading a Game Boy rom
Reflashing NP GB Memory carts
Writing custom flashcarts
Game Boy Advance
Reading a GBA save game
Reflashing GBA repros
SEGA
Reading Mega Drive Genesis games
Reading Master System games
Other
Flashrom Programmer
Flash-Adapter
AM29F016-AM29F032
MX29F1610
MX29L3211
MX29LV160
MX29LV320
S29GL032
39F040 PLCC32
