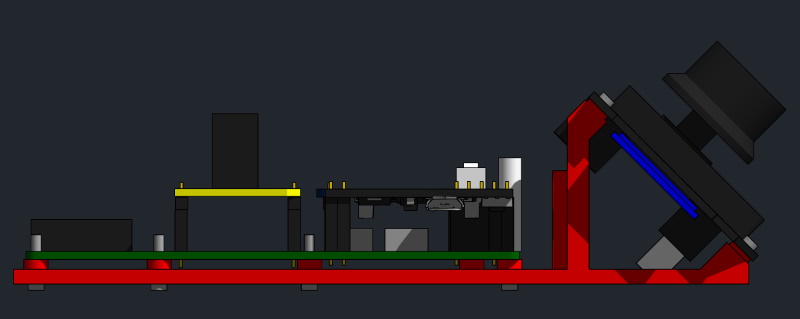
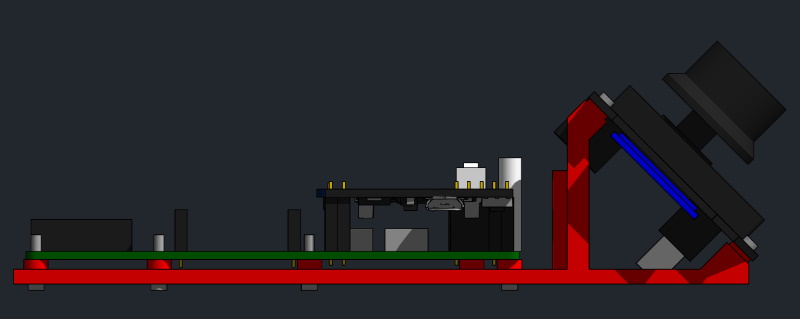
V5 of the Open Source Cartridge Reader simplifies the build process even more.
It offers several build options:
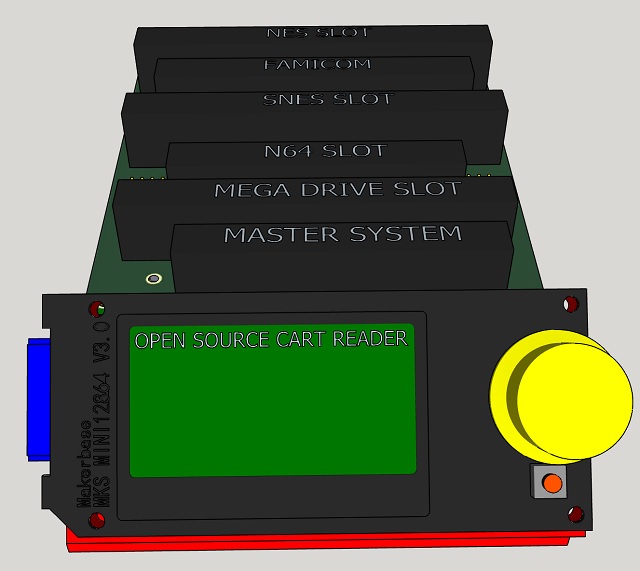
- 7-slot (main PCB with integrated GB/GBA + six-slot adapter with NES, FC, SNES, N64, MD, SMS)
- 2-slot (main PCB with integrated GB/GBA + a single slot adapter of your choice)
- 1-slot (main PCB with integrated GB/GBA)
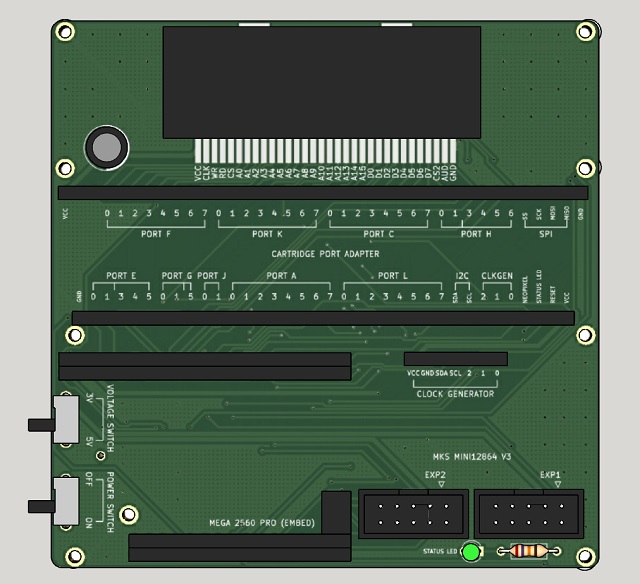
All use the same main PCB:
On the side there are two switches. One turns the OSCR On and OFF and the other selects between 3.3V or 5V.
Systems that need to be switched to 3V have "(3V)" in their menu name.
Both the Arduino Mega and the game cartridge will be run at that voltage to ensure proper voltage levels at all times. At the front there is a status LED that blinks during longer operations to signal that the Cart Reader is still doing something.
The  LCD screen displays all the menus and cartridge infos, the
  rotary encoder can be turned left/right and pressed to make and confirm a selection, the
  reset button restarts the Cart Reader and the
  SD slot supports FAT, FAT32 and exFAT SD cards. You need to copy the files found in the SD directory of the current release to the root of the SD card.
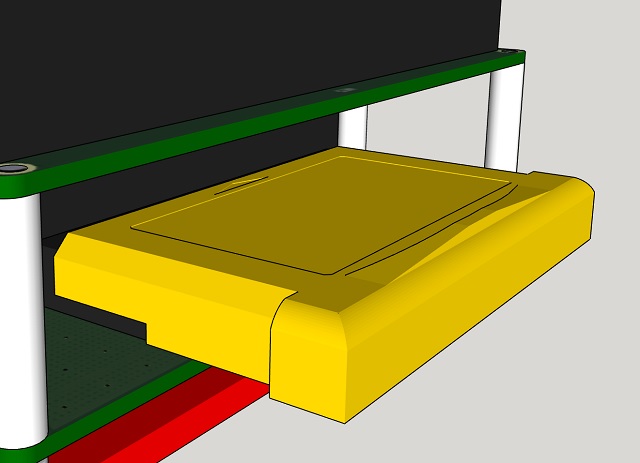
The GB, GBC, GBA slot is found at the back.
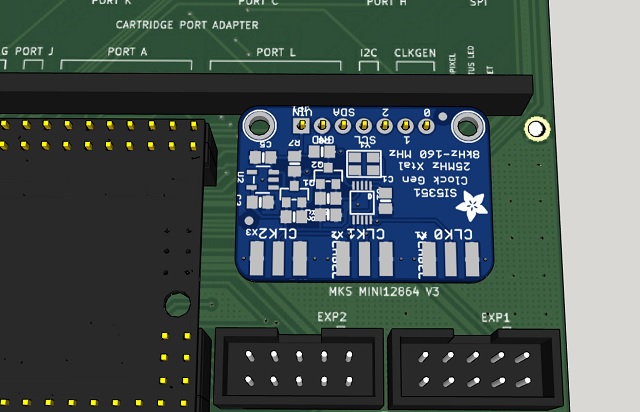
The Cartridge Reader makes use of the SI5351 Clock Generator to provide a clock signal for SNES SPC7110/SA1/SF Memory/Satellaview cartridges and N64 cartridges with EEPROM saves.
Since all cartridge slots are wired in parallel you are only allowed to plug in one cartridge at a time.
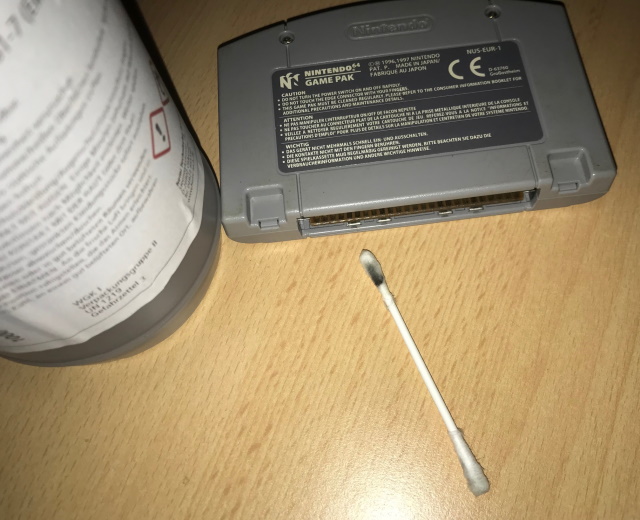
Before dumping a cartridge you should clean the gold contacts with a q-tip dipped in rubbing alcohol until it does not come out black anymore.
You should also only insert or remove cartridges while the Cart Reader is turned off, and not have any cart inserted while you are doing a firmware update.
Cart Reader V5
Overview
Supported Systems
List of user-created Adapters
Community Discord Server
Build Guide
Recommended Tools
What to order
How to build
More Information
How to order a PCB
How to flash the Arduino
Flashing the snesCIC
Preparing the SD Card
Automatic Voltage Selection
Real‐Time Clock
Advanced
Troubleshooting
Calibrating the ClockGen
Designing your own Adapters
Serial Monitor
Savegame Conversion
Older Revisions
About
Cart Reader V4
Cart Reader V3
Cart Reader V2
Cart Reader V1
Firmware Archive
Nintendo 64
Read N64 cartridge
Reading a Controller Pak
Reflashing N64 Repros
Reflashing a Gameshark
Super Nintendo
Reading SNES/SFC carts
Reflashing NP carts
Reflashing SNES/SFC Repros
Reflashing BSX 8M carts
NES and Famicom
Dumping NES Games
Adding auto mapper to a game
Game Boy
Reading a Game Boy rom
Reflashing NP GB Memory carts
Writing custom flashcarts
Game Boy Advance
Reading a GBA save game
Reflashing GBA repros
SEGA
Reading Mega Drive Genesis games
Reading Master System games
Other
Flashrom Programmer
Flash-Adapter
AM29F016-AM29F032
MX29F1610
MX29L3211
MX29LV160
MX29LV320
S29GL032
39F040 PLCC32
